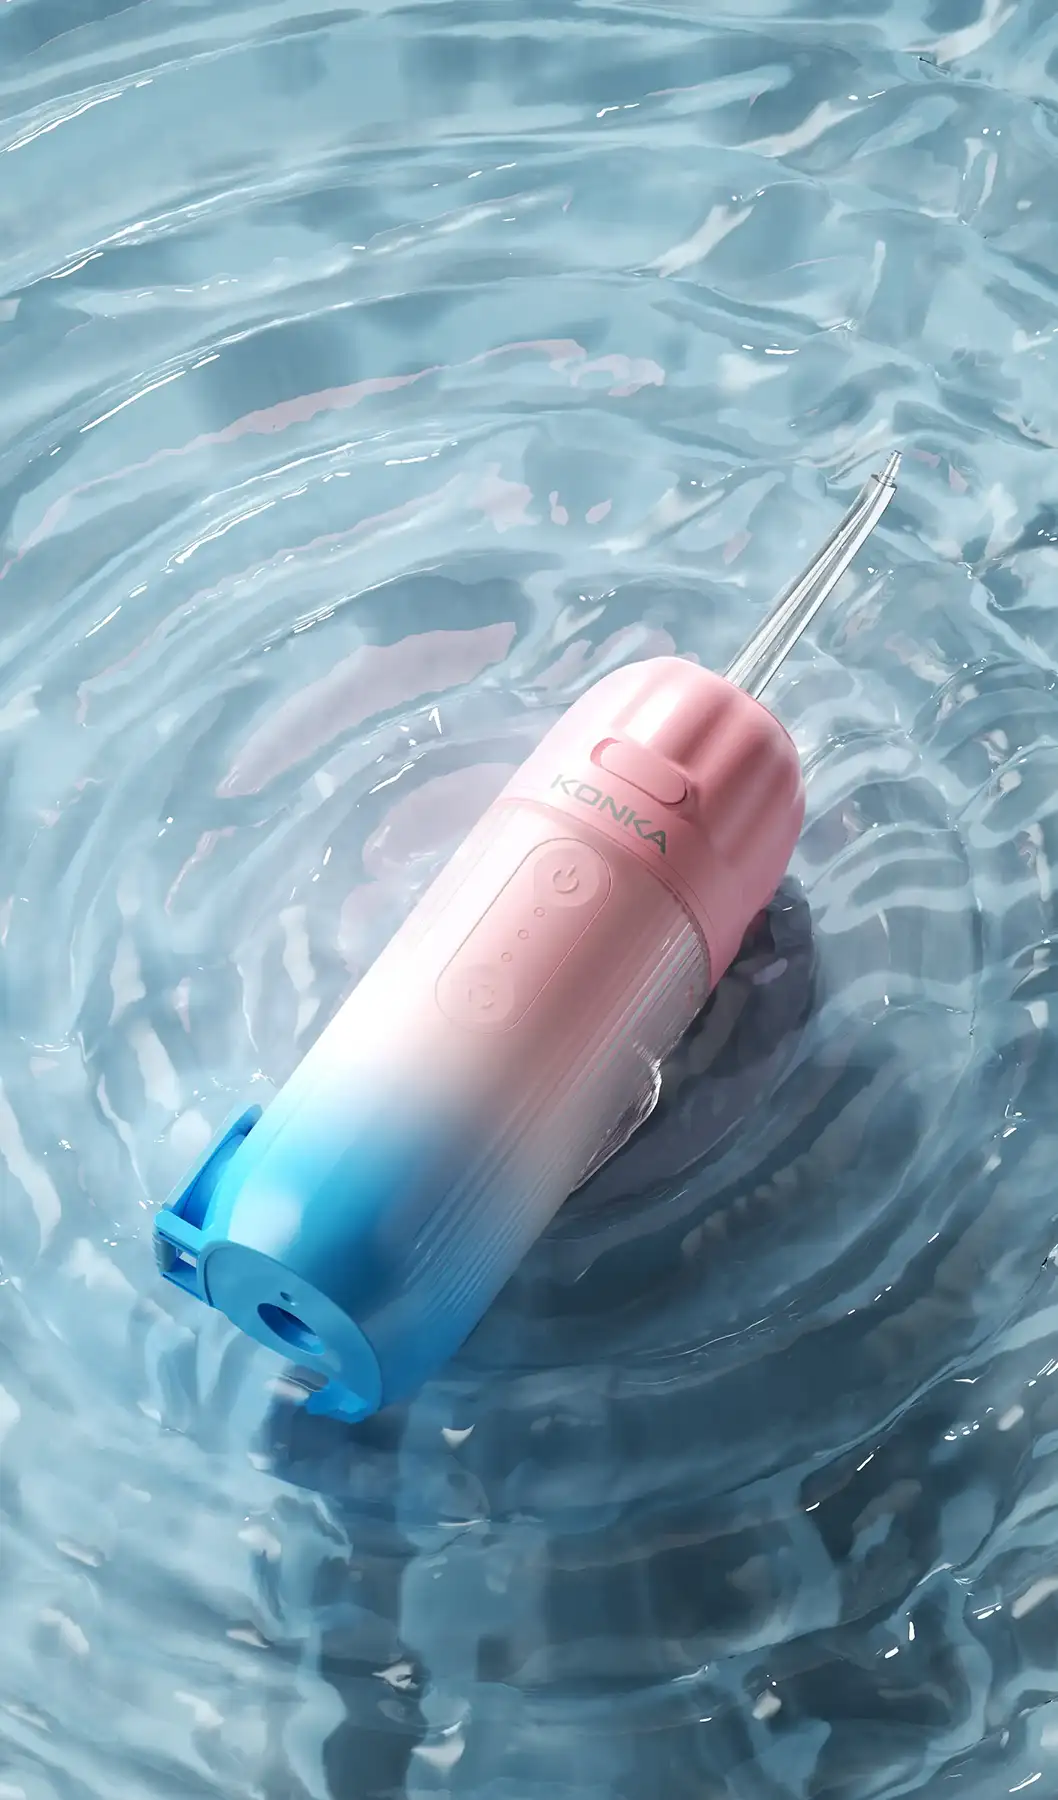
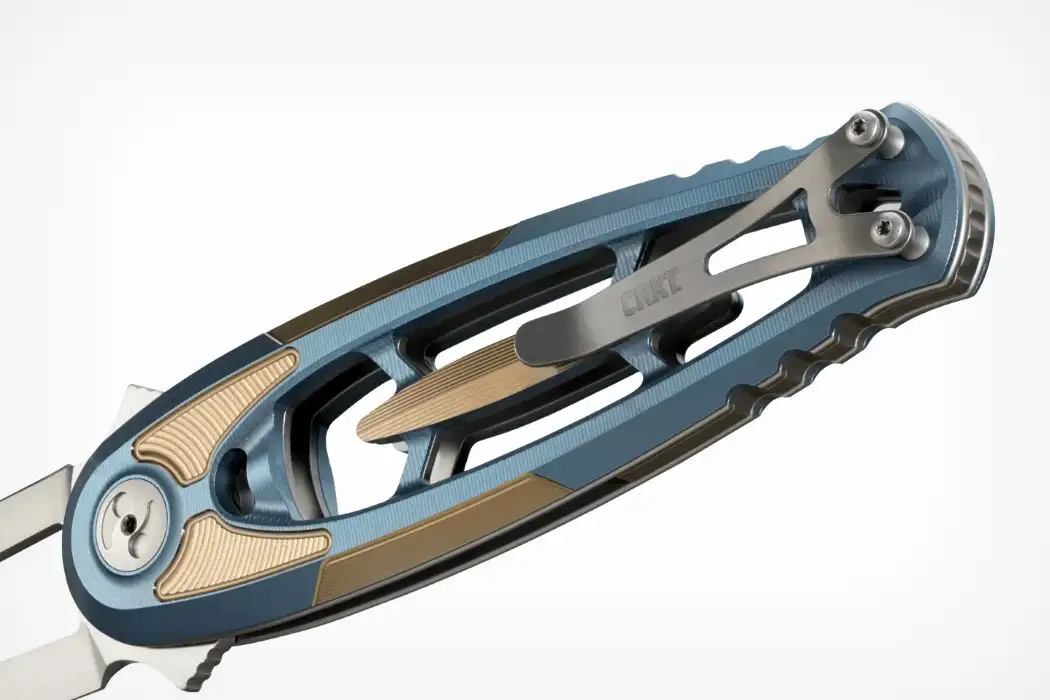
NINEIDEA:你好,设计师!很高兴你还热爱这个行业,还坚守着自己追求。当你拿到一个智能硬件项目时,是不是既兴奋又感觉千头万绪?别担心,每一个酷炫的硬件产品背后,都有一套我们可以遵循的流程。这是一篇给设计师的智能硬件外观开发流程之“打怪升级”指南,将带你走一遍这个旅程,让你清楚每个阶段要做什么、为什么做,以及如何与团队高效协作。整个流程可以比喻为 “孕育一个生命”:从概念构思(灵魂),到骨骼血肉的塑造(设计+结构),再到试产测试(学走路),最后量产上市(走向世界)。
第一阶段:孕育想法 – 需求分析与策略定位
核心问题:我们要做一个什么东西?为谁而做?
这是所有设计的起点,也是最关键的一步。如果方向错了,后面再努力也是白费。
- 设计师的任务:
- 深度参与讨论: 不要只坐在电脑前等需求。主动和产品经理、老板、工程师开会,搞清楚:
- 用户是谁? (年轻人?老年人?专业人士?)
- 核心功能是什么? (是用来监测健康?控制智能家居?还是户外运动?)
- 卖点是什么? (极致性价比?颠覆性设计?顶级工艺?)
- 技术边界在哪? (主要芯片多大?电池容量和形状?有哪些必备的传感器?天线位置?)
- 市场调研: 看看市面上同类产品都长什么样,避免撞车,更重要的是寻找差异化的机会。
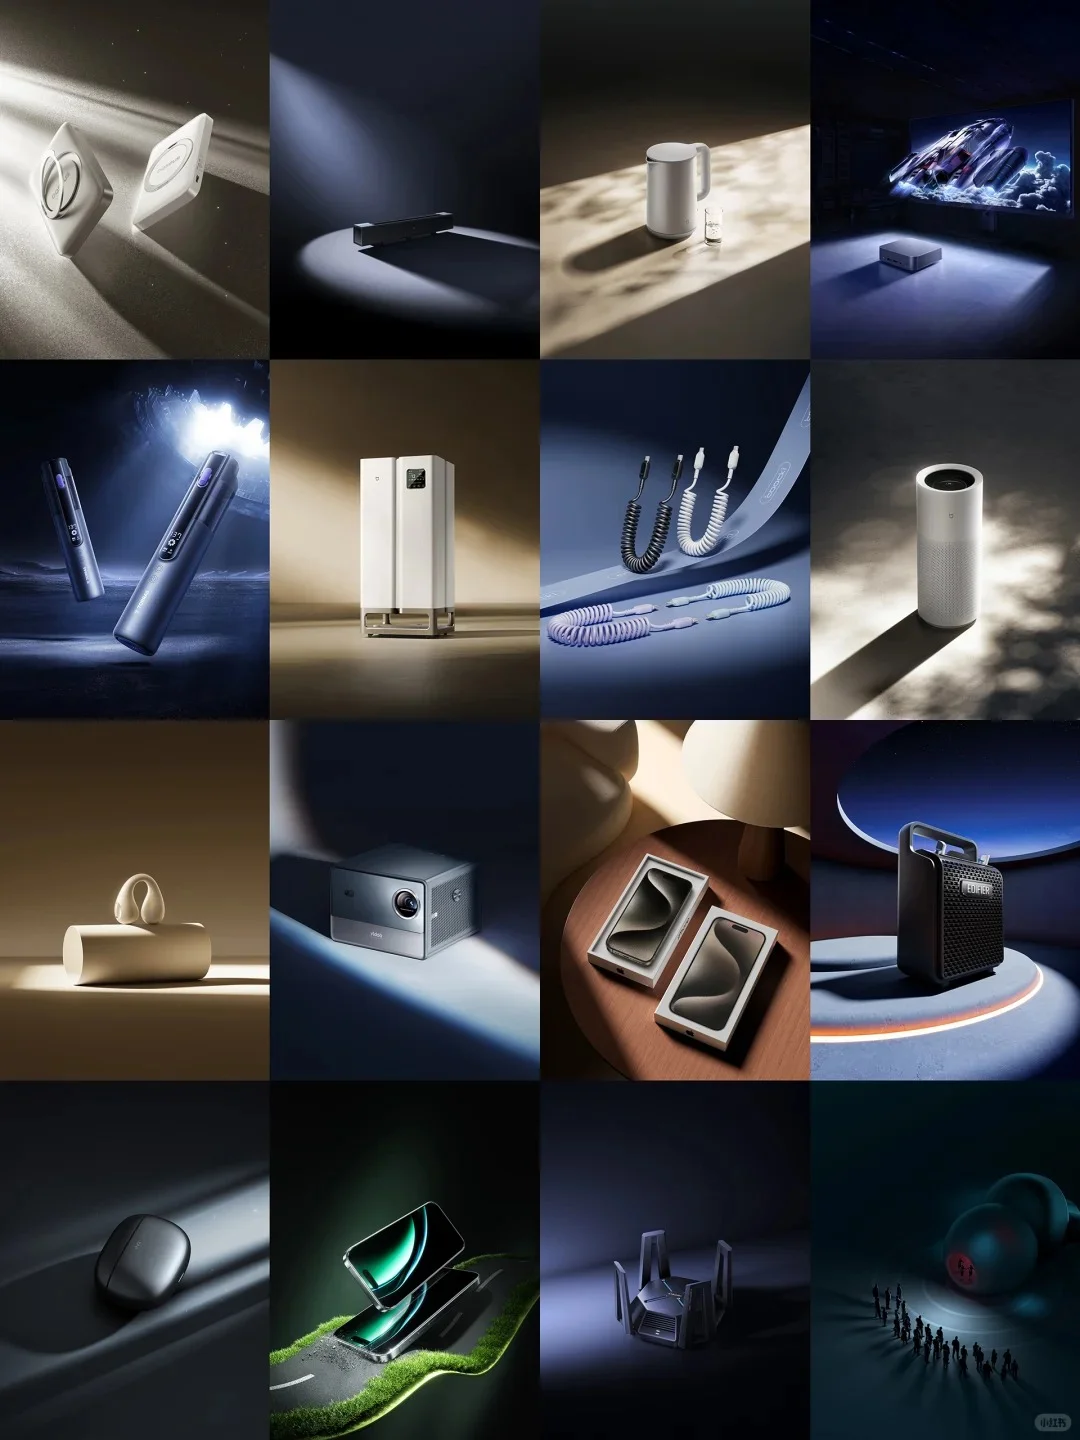
- 产出物: 设计策略板(Moodboard)。收集大量的图片、材料、颜色、甚至感觉,把它们拼贴在一起,向团队直观地传达“我们想要的产品感觉”是科技的、温润的、还是硬核的。
- 深度参与讨论: 不要只坐在电脑前等需求。主动和产品经理、老板、工程师开会,搞清楚:
通俗理解: 就像装修房子前,先和家人确定要装成什么风格(北欧风?中式?),预算是多少,有哪些承重墙不能动。

第二阶段:赋予形态 – 创意发散与概念设计
核心问题:这个想法可以长成什么样子?
这是设计师最能发挥创造力的阶段,天马行空,但也要戴着“镣铐”跳舞。
- 设计师的任务:
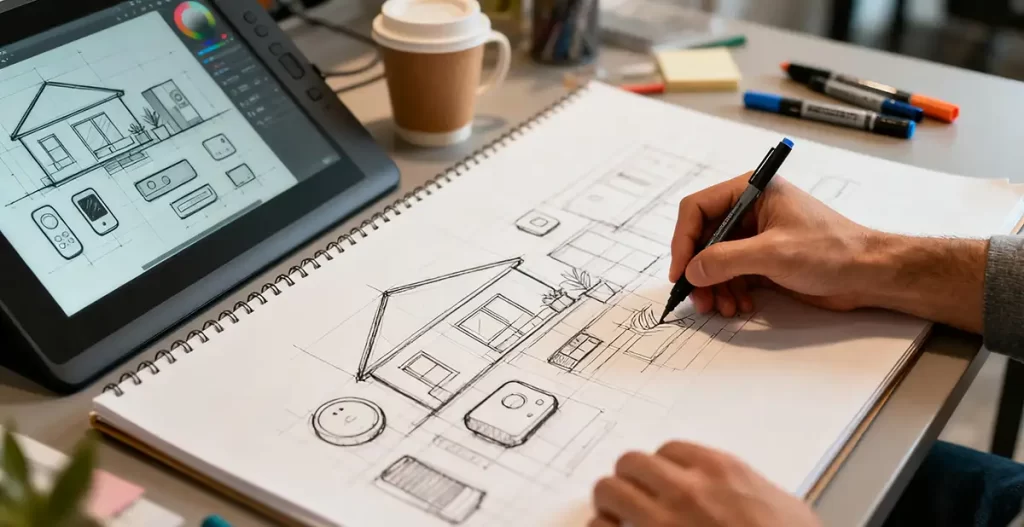
- 疯狂草图(Sketching): 拿出你的手绘板,快速地把想法可视化。不要纠结细节,重点是探索各种各样的形态、比例和交互方式。画几十个甚至上百个方案都很正常。
- 收敛与筛选: 拉着团队一起评审草图,从创意、可行性、美观度等角度,筛选出2-3个最有潜力的方向。
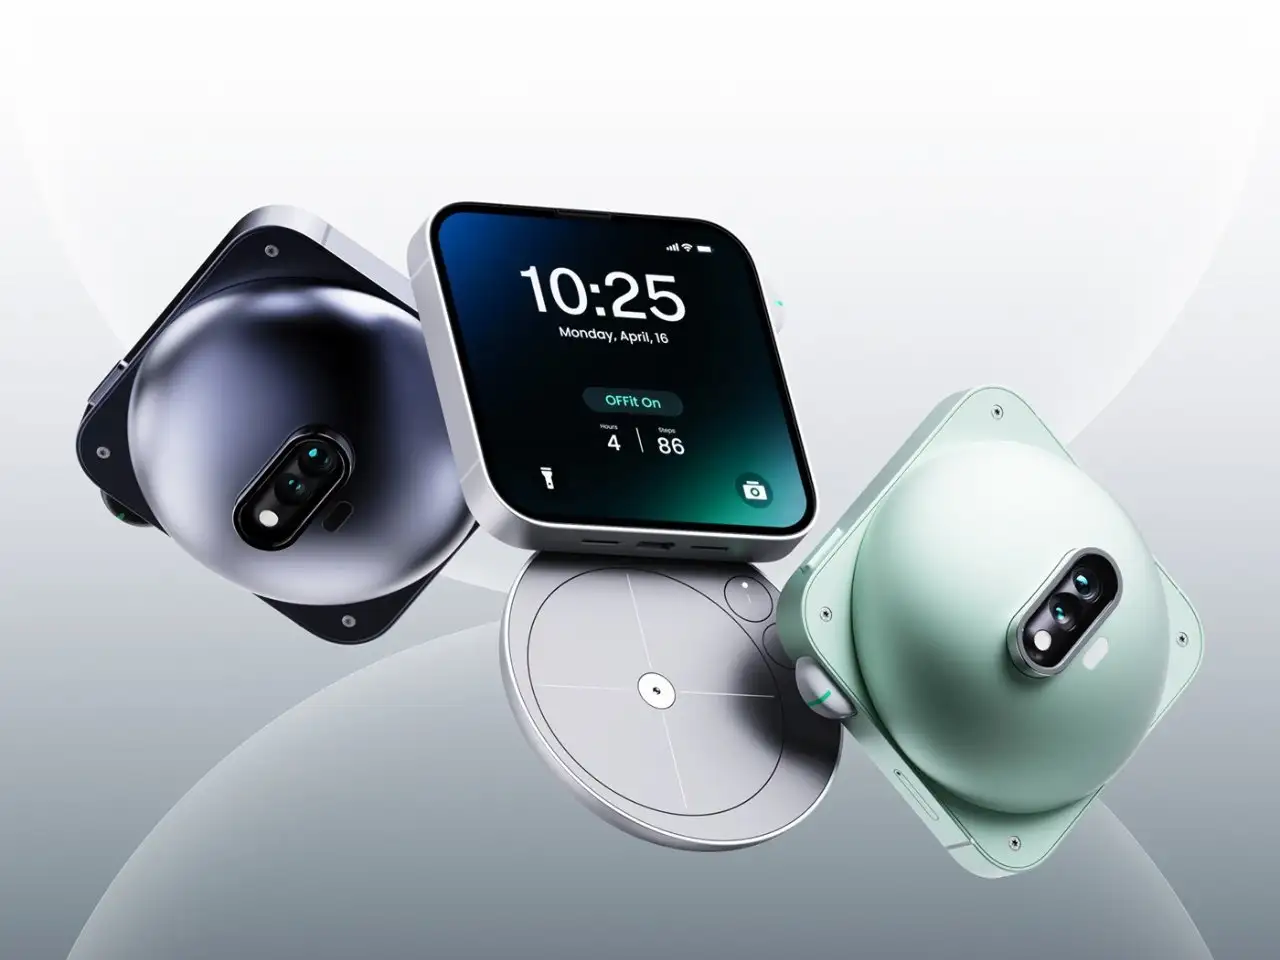
- 2D效果图(2D Rendering): 对选中的方案进行精细的二维渲染,上色、做质感、搭配场景。让它们看起来像真的一样,用于内部决策和早期的用户测试。
通俗理解: 建筑师画出房子的各种草图方案,有欧式的、现代的、中式的,让大家投票选一个最喜欢的。
第三阶段:构建骨骼 – 3D建模与结构可行性
核心问题:这个漂亮的外壳能做得出来吗?能装得下所有零件吗?
梦想照进现实的阶段,需要和结构工程师紧密“捆绑”,是设计能否落地的关键。
- 设计师的任务:
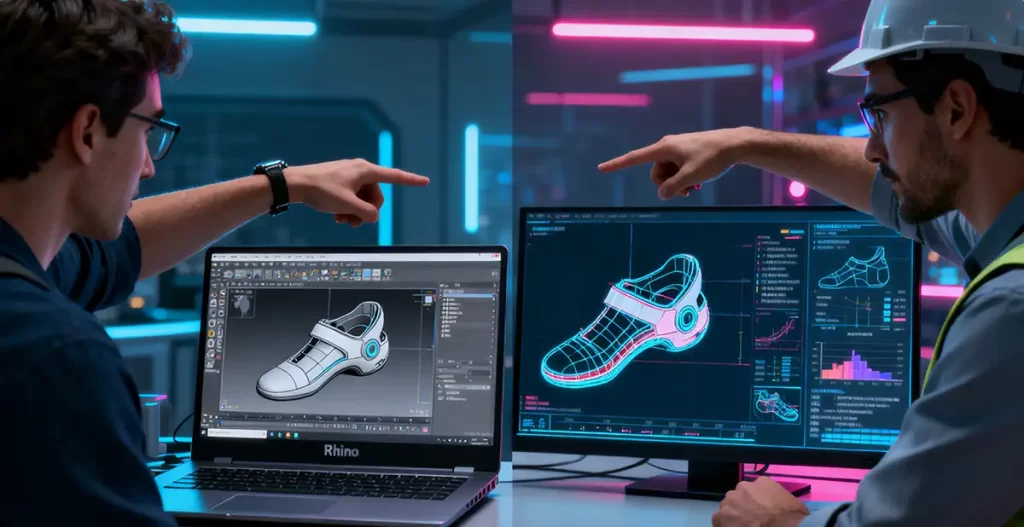
- 创建3D模型(3D Modeling): 使用Rhino、Keyshot、Fusion 360等软件,将2D方案转化为精确的三维数字模型。
- “吵架”与妥协(Collaboration with ME): 这是最核心的协作环节。你需要和结构工程师反复沟通:
- 壁厚够吗? 太薄了塑料注塑不出来。
- 这里能脱模吗? 设计要考虑模具能否顺利打开(拔模角)。
- PCB板(主板)放得下吗? 电池会不会顶到外壳?
- 按键手感怎么保证? 和工程师一起设计按键的结构和行程。
- CMF设计(Color, Material, Finishing): 这是产品的“化妆师”。确定颜色、材质(是塑料、金属还是硅胶?)、表面处理(是喷哑光漆、还是做金属拉丝?)。最好能制作CMF样板,实物摸得到的感觉和看图片完全不同。
通俗理解: 建筑师和结构工程师一起工作,确保漂亮的设计符合力学原理,钢筋水泥能搭得出来,并且空间布局合理。
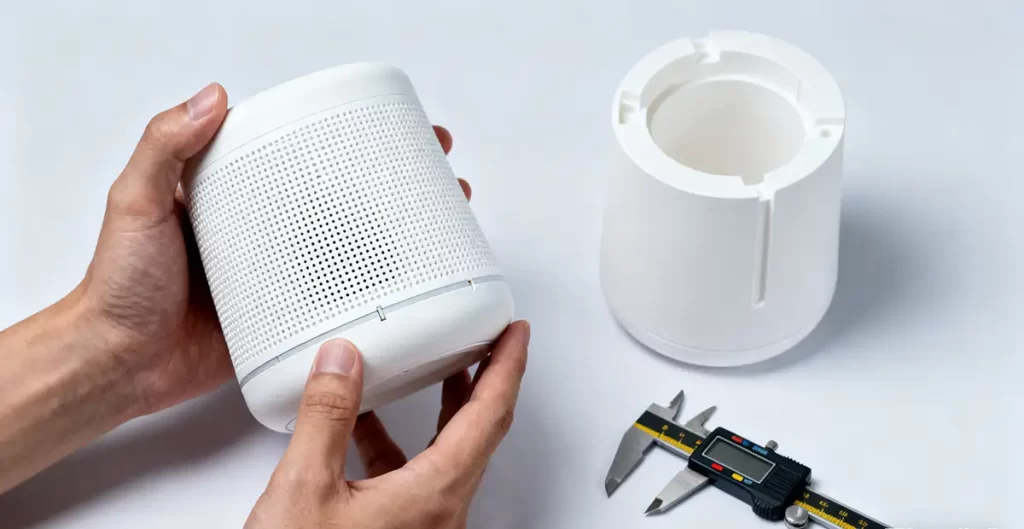
第四阶段:检验实物 – 手板制作与测试
核心问题:实物摸起来、用起来到底是什么感觉?
第一次把虚拟的数字模型变成能拿在手里的真实东西,非常激动人心,也是问题集中暴露的时候。
- 设计师的任务:
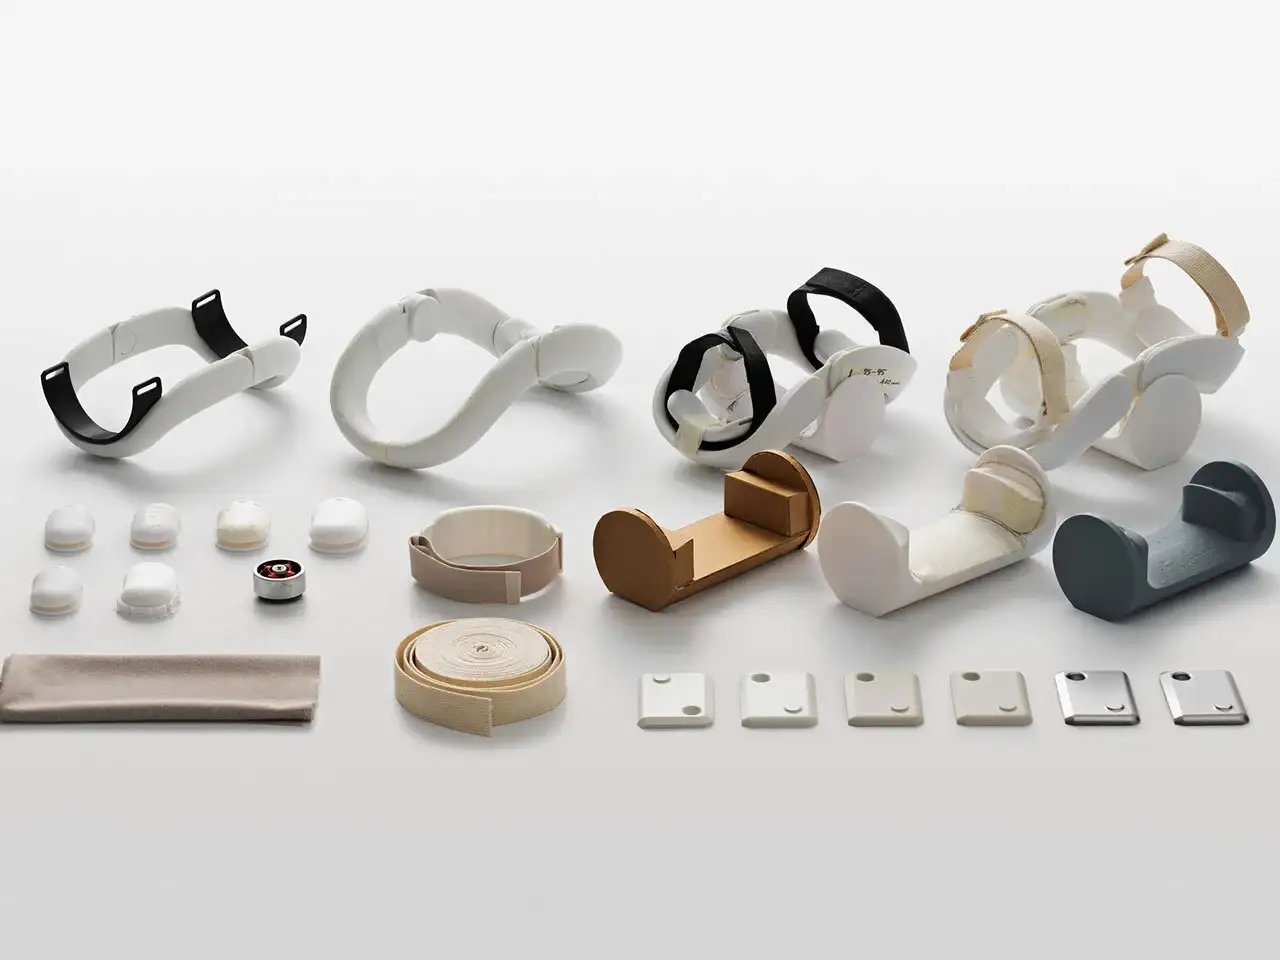
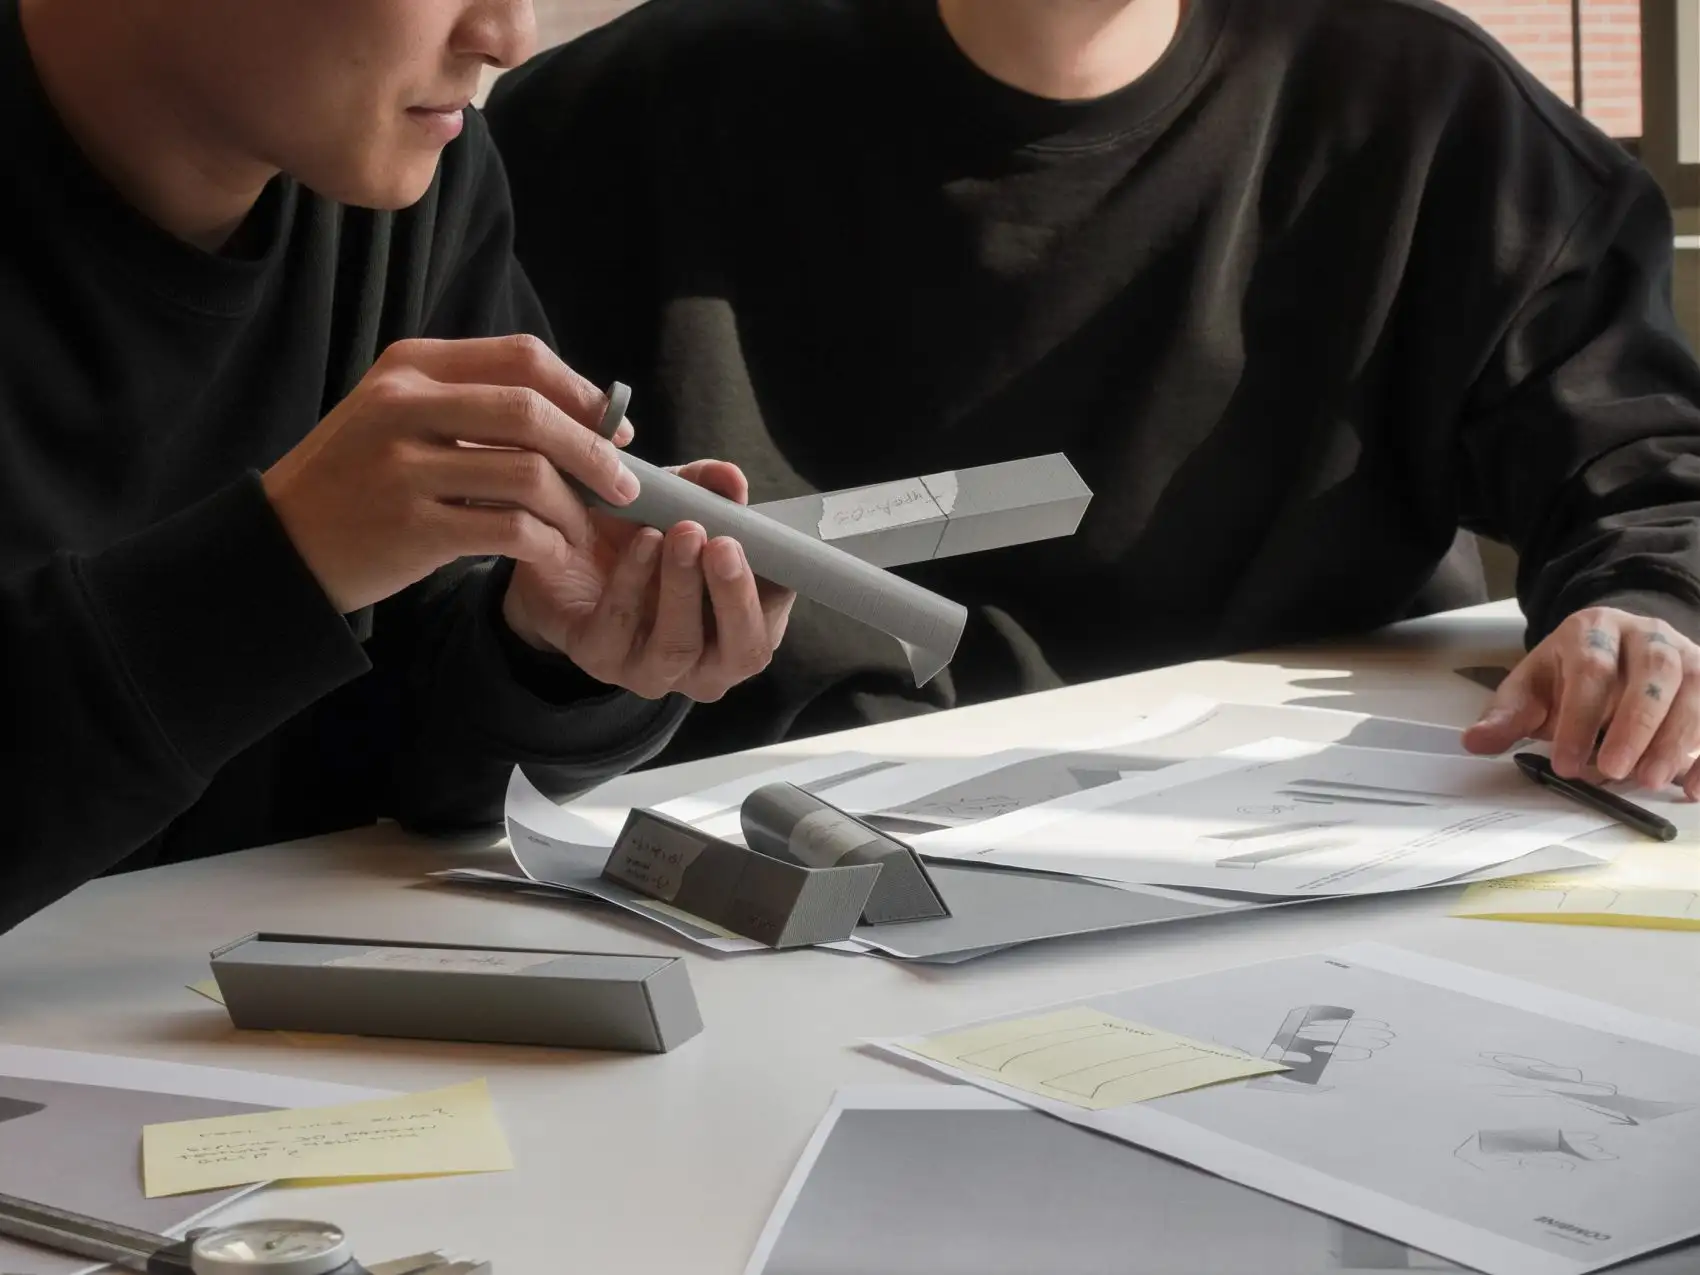
- 跟进制板: 将3D文件发给手板厂,他们会通过CNC(数控机床)切削或3D打印的方式,做出一个或几个样品。
- 实物验证: 拿到手板后,你要像用户一样去体验:
- 尺寸手感对吗? 握感舒服吗?重不重?
- 配色和质感满意吗? 和想象的有没有差距?
- 装配有没有问题? 缝隙均匀吗?按键好按吗?
- 反馈与修改: 将发现的问题反馈给结构工程师,修改3D模型。这个过程可能需要反复打样2-3次,直到各方面都达标。
通俗理解: 装修前先让师傅用石膏板做个等比例的模型屋,在里面走一走,感受一下空间大小和动线合不合理,方便修改。
第五阶段:批量生产 – 开模与量产跟进
核心问题:如何保证成千上万个产品都和手板一样好?
设计工作的收尾阶段,要从“做一個”切换到“做一万个”的思维,确保生产稳定性。
- 设计师的任务:
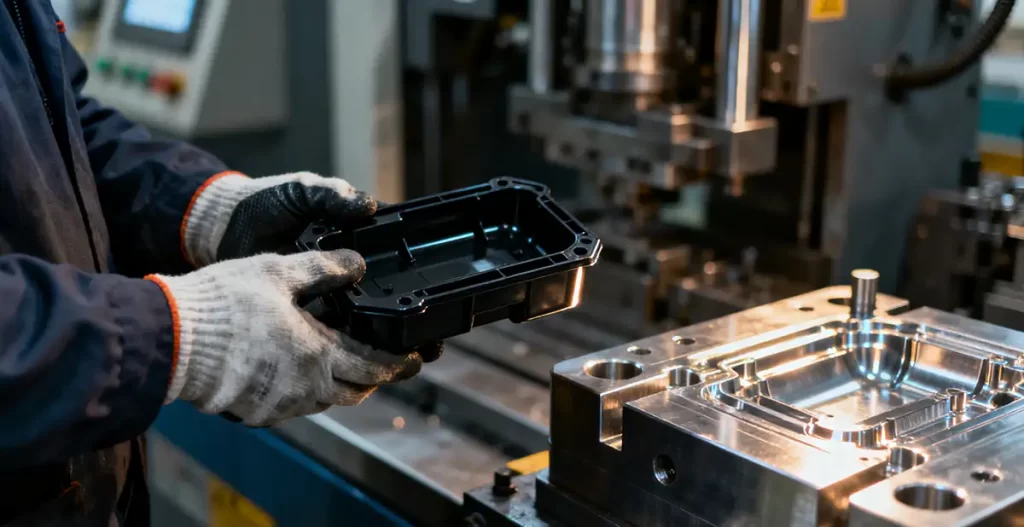
- 模具评审(T1试模): 工厂会根据最终的3D数据开钢模。第一次试模出来的零件(T1样件)非常重要!你一定要亲自去看,或者让工厂寄给你。
- 盯紧细节: 检查注塑产生的合模线、缩水、色差等问题。CMF效果是否达标。你的眼睛就是最终的用户标准。
- 签样确认: 确认一个完美的样品作为“标准件”,后续所有生产都以此为准。
通俗理解: 蛋糕店要推出一款新蛋糕,设计师需要和厨师长一起,确保第一批试做的蛋糕和设计图一模一样,并定下标准配方,以后所有蛋糕师都按这个标准做。
总结与心态
对智能硬件设计师来说,美感只是基础,落地才是能力。你不仅是艺术家,更是协调者、谈判者和问题解决者。
- 拥抱约束: 技术限制、成本限制不是敌人,而是激发你创造力的伙伴。
- 沟通!沟通!沟通! 永远和你的产品经理、工程师保持畅通的沟通,他们是你的战友,不是对手。
- 对细节偏执: 毫米的差距、微妙的色差,决定了产品的品质感。
恭喜你!走完这个流程,你设计的产品就将送到万千用户手中了。这个过程虽然辛苦,但看到自己的想法变成现实,并被人喜爱,那种成就感是无与伦比的。祝你“打怪”顺利!
@NINEIDEA九号创新 www.nineidea.com
From concept to mass production: a deep understanding of the development process of intelligent hardware appearance
NINEIDEA: Hello, designer! I’m glad you still love this industry and are sticking to your pursuit. When you receive an intelligent hardware project, do you feel both excited and overwhelmed? Don’t worry, behind every cool hardware product, there is a set of processes that we can follow. This is a “Monster Upgrade” guide for designers on the intelligent hardware appearance development process.
It will take you through this journey, helping you understand what needs to be done at each stage, why, and how to collaborate efficiently with the team. The entire process can be likened to “nurturing a life”: from conceptual conception (soul), to shaping bones and flesh (design+structure), to trial production testing (learning to walk), and finally mass production and market launch (going global).
Phase 1: Nurturing Ideas – Needs Analysis and Strategic Positioning
Core question: What are we going to do? For whom?
This is the starting point and the most crucial step of all designs. If the direction is wrong, any further efforts will be in vain.
Designer’s task:
Deep participation in discussion: Don’t just sit in front of the computer waiting for demands. Proactively hold meetings with product managers, bosses, and engineers to clarify:
Who is the user? (Young people? Elderly people? Professionals?)
What is the core function? (Is it used to monitor health? Control smart homes? Or outdoor sports?)
What are the selling points? (Ultimate cost-effectiveness? Disruptive design? Top craftsmanship?)
Where are the technological boundaries? What is the size of the main chip? What are the battery capacity and shape? What are the necessary sensors? What are the antenna positions
Market research: Look at what similar products on the market look like, avoid collisions, and more importantly, seek opportunities for differentiation.
Output: Design Strategy Board (Moodboard). Collect a large number of pictures, materials, colors, and even feelings, collage them together, and intuitively convey to the team whether the “product feeling we want” is technological, warm, or hardcore.
Simply put, it’s like before decorating a house, deciding with your family what style (Nordic style? Chinese style?) to decorate, what your budget is, and which load-bearing walls cannot be moved.
Phase 2: Empowering Form – Creative Divergence and Conceptual Design
Core question: What can this idea grow into?
This is the stage where designers can unleash their creativity the most, free spirited but also dance with shackles on their backs.
Designer’s task:
Crazy Sketching: Take out your drawing board and quickly visualize your ideas. Don’t dwell on details, focus on exploring various forms, proportions, and ways of interaction. Drawing dozens or even hundreds of proposals is normal.
Convergence and screening: Pull the team to review the sketch together, and select 2-3 most promising directions from the perspectives of creativity, feasibility, aesthetics, etc.
2D Rendering: Fine rendering of the selected scheme in two dimensions, coloring, texture, and scene matching. Make them look real for internal decision-making and early user testing.
Popular understanding: Architects draw various sketch plans for houses, including European, modern, and Chinese styles, and ask everyone to vote for their favorite one.
Phase 3: Building Bones -3D Modeling and Structural Feasibility
Core question: Can this beautiful shell be made? Can it accommodate all the parts?
The stage where dreams turn into reality requires close “binding” with structural engineers, which is the key to whether the design can be implemented.
Designer’s task:
Create 3D Modeling: Use software such as Rhino, Keyshot, Fusion 360, etc. to convert 2D solutions into accurate 3D digital models.
‘Quarreling’ and ‘Collaboration with ME’: This is the most crucial aspect of collaboration. You need to communicate repeatedly with the structural engineer:
Is the wall thickness sufficient? Too thin for plastic injection molding.
Can we demold here? The design should consider whether the mold can be opened smoothly (draft angle).
Can the PCB board (motherboard) fit in? Will the battery reach the outer shell?
How to ensure the tactile sensation of the buttons? Design the structure and stroke of buttons together with engineers.
CMF design (Color, Material, Finishing): This is the “makeup artist” of the product. Determine the color, material (plastic, metal or silicone?), and surface treatment (matte paint or metal wire drawing?). It is best to create a CMF prototype, as the feeling of the actual product is completely different from that of looking at pictures.
In layman’s terms, architects and structural engineers work together to ensure that beautiful designs conform to mechanical principles, can be constructed with steel and cement, and have a reasonable spatial layout.
Stage 4: Physical Inspection – Prototype Production and Testing
Core question: What does it feel like to touch and use a physical object?
The first time turning a virtual digital model into something real that can be held in one’s hand was very exciting, and it was also the time when the problem was exposed.
Designer’s task:
Follow up board: Send the 3D file to the prototype factory, and they will make one or several samples through CNC (numerical control machine) cutting or 3D printing.
Physical verification: After receiving the prototype, you need to experience it like a user:
Is the size and feel correct? Is the grip comfortable? Is it heavy or not?
Are you satisfied with the color scheme and texture? Is there any gap between what you imagined and what you imagined?
Is there any problem with the assembly? Is the gap even? Is the button easy to press?
Feedback and modification: Report the identified issues to the structural engineer and modify the 3D model. This process may require repeated sampling 2-3 times until all aspects meet the standards.
Popular understanding: Before decoration, ask the master to make a proportional model house with gypsum board, walk around inside, feel whether the space size and flow line are reasonable, and facilitate modification.
Phase 5: Batch Production – Mold Opening and Mass Production Follow up
Core question: How to ensure that thousands of products are as good as prototypes?
In the final stage of design work, it is necessary to switch from the mindset of “doing one” to “doing ten thousand” to ensure production stability.
Designer’s task:
Mold review (T1 trial mold): The factory will open the steel mold based on the final 3D data. The first trial molded part (T1 sample) is very important! You must go see it in person or have the factory send it to you.
Pay close attention to details: check for issues such as mold line closure, shrinkage, color difference, etc. caused by injection molding. Whether the CMF effect meets the standard. Your eyes are the ultimate user standard.
Sample confirmation: Confirm a perfect sample as the “standard part”, and all subsequent production will be based on this.
Popular understanding: The cake shop will launch a new cake. The designer needs to work with the chef to ensure that the first batch of trial cakes are exactly the same as the design drawings, and set the standard formula. All cake makers will follow this standard in the future.
Summary and mindset
For smart hardware designers, aesthetics are only the foundation, implementation is the ability. You are not only an artist, but also a coordinator, negotiator, and problem solver.
Embrace constraints: Technical and cost limitations are not enemies, but partners that inspire your creativity.
communicate! communicate! communicate! Always maintain smooth communication with your product manager and engineers, they are your comrades, not opponents.
Paranoia about details: Millimeter differences and subtle color differences determine the quality of the product.
Congratulations! After completing this process, the product you designed will be delivered to millions of users. Although this process is arduous, seeing one’s ideas become reality and being loved by others gives an unparalleled sense of achievement. Wishing you a smooth battle against monsters!
@NINEIDEA九号创新 www.nineidea.com


